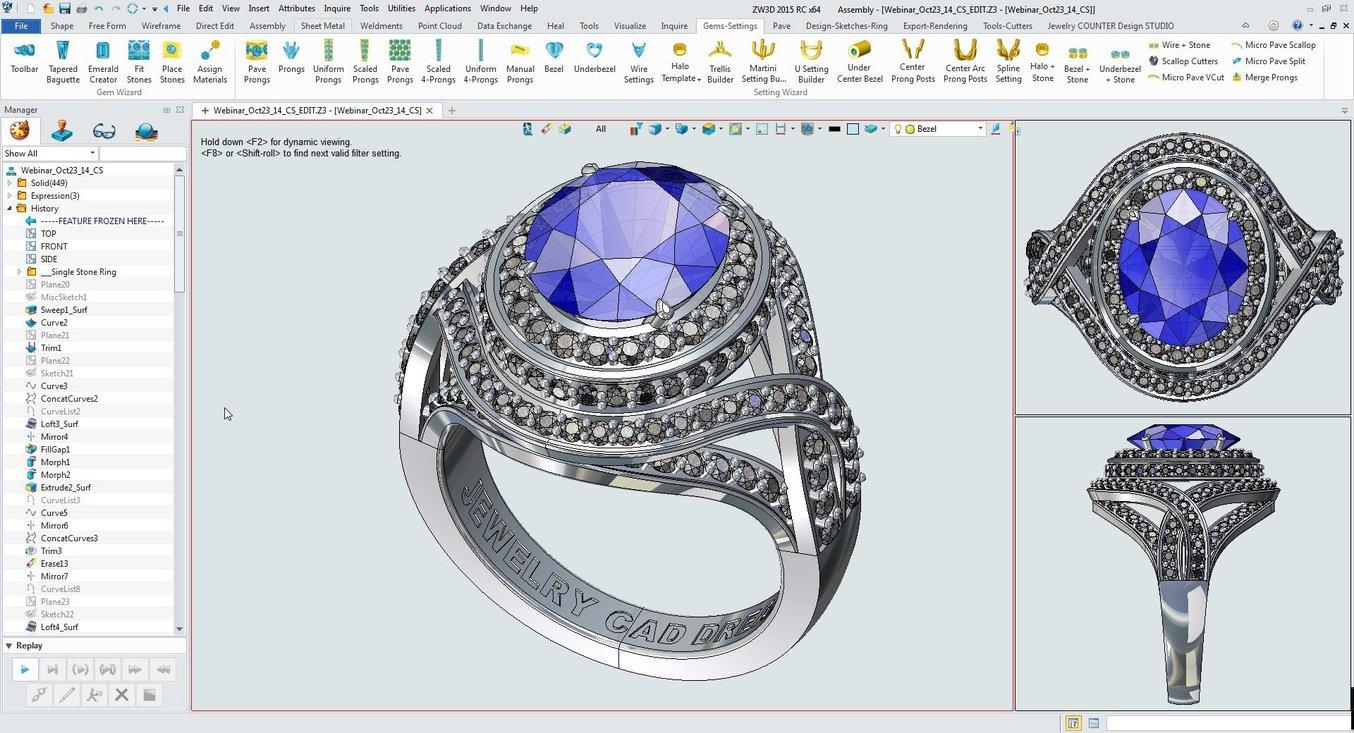
Jewellery CAD design is not only about creating beautiful models. A design must also be prepared carefully so it can move smoothly through the manufacturing process. When a CAD file is described as manufacturing-ready, it means that the model has been checked and optimized for 3D printing, casting, polishing, and stone setting.
Many beginner designers create attractive CAD models that unfortunately cannot be manufactured. Problems such as thin metal areas, incorrect stone seats, or broken geometry may appear during production and cause delays or defects.
Professional jewellery designers therefore follow specific preparation steps to ensure their CAD files are suitable for manufacturing. These steps help transform a digital design into a reliable production model.
If you want to explore manufacturing-ready jewellery CAD models you can visit
Every successful jewellery CAD design begins with a strong structural foundation. The ring shank or main body of the jewellery must have sufficient thickness to maintain durability after casting and polishing.
For most rings, a minimum thickness of around 1.8 mm before polishing is recommended. This ensures that the final piece will remain strong enough for everyday wear.
The structure should also maintain smooth transitions between surfaces. Sharp edges or abrupt changes in geometry can weaken the design and create manufacturing issues.
A strong base structure ensures that the jewellery piece maintains both beauty and durability.
Designing Accurate Diamond Seats
One of the most important elements of jewellery CAD design is the stone seat. The seat is the area where the diamond or gemstone rests before being secured by prongs or beads.
The seat must align correctly with the girdle of the gemstone. If the seat is too shallow, the diamond may sit too high and become unstable. If it is too deep, the stone may lose its brilliance because too much of it is hidden inside the metal.
Proper seat design allows setters to place stones quickly and securely during production.
Accurate seat placement also improves the visual symmetry of the jewellery piece.
Maintaining Correct Metal Thickness
Metal thickness plays a crucial role in manufacturing success. Designs with extremely thin areas may break during casting or polishing.
Designers must carefully analyze the entire CAD model to ensure that all structural components meet recommended thickness guidelines.
Prongs, galleries, and decorative elements should maintain enough metal to remain strong after finishing processes. Polishing removes a small amount of metal, so the CAD model must compensate for this reduction.
Maintaining correct thickness ensures that the jewellery piece remains durable while preserving its intended design.
Cleaning CAD Geometry Before Production
CAD models must be free from geometry errors before they are sent for manufacturing. Common geometry issues include open surfaces, intersecting objects, and non-manifold edges.
These problems can cause errors during 3D printing or casting preparation. Even if the model appears correct visually, hidden geometry errors can still exist within the file.
Most CAD software includes tools for analyzing and repairing geometry. Running these checks before exporting the model helps ensure a smooth manufacturing process.
Clean geometry is essential for reliable jewellery production.
Preparing the CAD File for 3D Printing
In modern jewellery manufacturing, CAD models are typically converted into resin prints using high-resolution 3D printers. These prints are then used to create molds for casting.
Before printing, the CAD model must be converted into an STL file that describes the geometry of the design. Designers must ensure that the STL mesh has sufficient resolution to capture fine details without creating excessively large files.
Proper preparation of the printing file ensures that the printed model accurately represents the original CAD design.
This step is critical for maintaining design accuracy throughout the manufacturing process.
Ensuring Smooth Surfaces for Polishing
Polishing is one of the final stages of jewellery production. The CAD model should therefore be designed with smooth surfaces that can be polished effectively.
Rough or uneven surfaces in the CAD model may require additional finishing work during manufacturing. Smooth surface transitions make polishing easier and produce a more refined final appearance.
Professional designers often add small fillets or rounded edges to improve surface flow and polishing efficiency.
These adjustments help achieve the high-quality finish expected in fine jewellery.
Checking the CAD Model from Multiple Angles
Before finalizing a jewellery CAD file, designers should inspect the model from multiple angles. This helps identify potential structural weaknesses or visual inconsistencies.
Viewing the model from different perspectives can reveal issues such as uneven stone alignment or awkward surface transitions.
Many designers also perform cross-section analysis to evaluate internal structures and verify metal thickness.
Careful inspection ensures that the CAD model is fully prepared for production.
Testing the Design with Prototype Prints
Even well-prepared CAD models benefit from prototype testing. Creating a test print allows designers to evaluate the physical structure of the design before committing to full production.
Prototype testing can reveal issues that may not be obvious in the digital model. For example, delicate areas may appear weaker when examined physically.
By testing prototypes, designers can refine the CAD model and ensure that the final jewellery piece meets quality expectations.
You can explore jewellery CAD models suitable for printing and production here
Many jewellery businesses collaborate with professional CAD designers to create manufacturing-ready models. These specialists understand the technical requirements of jewellery production and ensure that designs are optimized for casting and stone setting.
Professional CAD services can help transform creative ideas into production-ready jewellery models.
This collaboration allows jewellery brands to focus on creativity and marketing while experienced designers handle the technical preparation.
If you need jewellery CAD design services you can visit
Creating manufacturing-ready jewellery CAD files requires more than artistic design skills. Designers must understand structural engineering, stone setting techniques, and manufacturing processes.
By maintaining proper metal thickness, designing accurate stone seats, cleaning geometry, and preparing files for 3D printing, designers can ensure that their CAD models translate successfully into finished jewellery pieces.
As digital jewellery design continues to evolve, mastering these preparation techniques will remain essential for producing high-quality jewellery designs.
For jewellery designers and brands aiming to streamline production, manufacturing-ready CAD design is a crucial part of the modern jewellery workflow.